How to Build Forms in Framer (That Actually Work)
 Shahul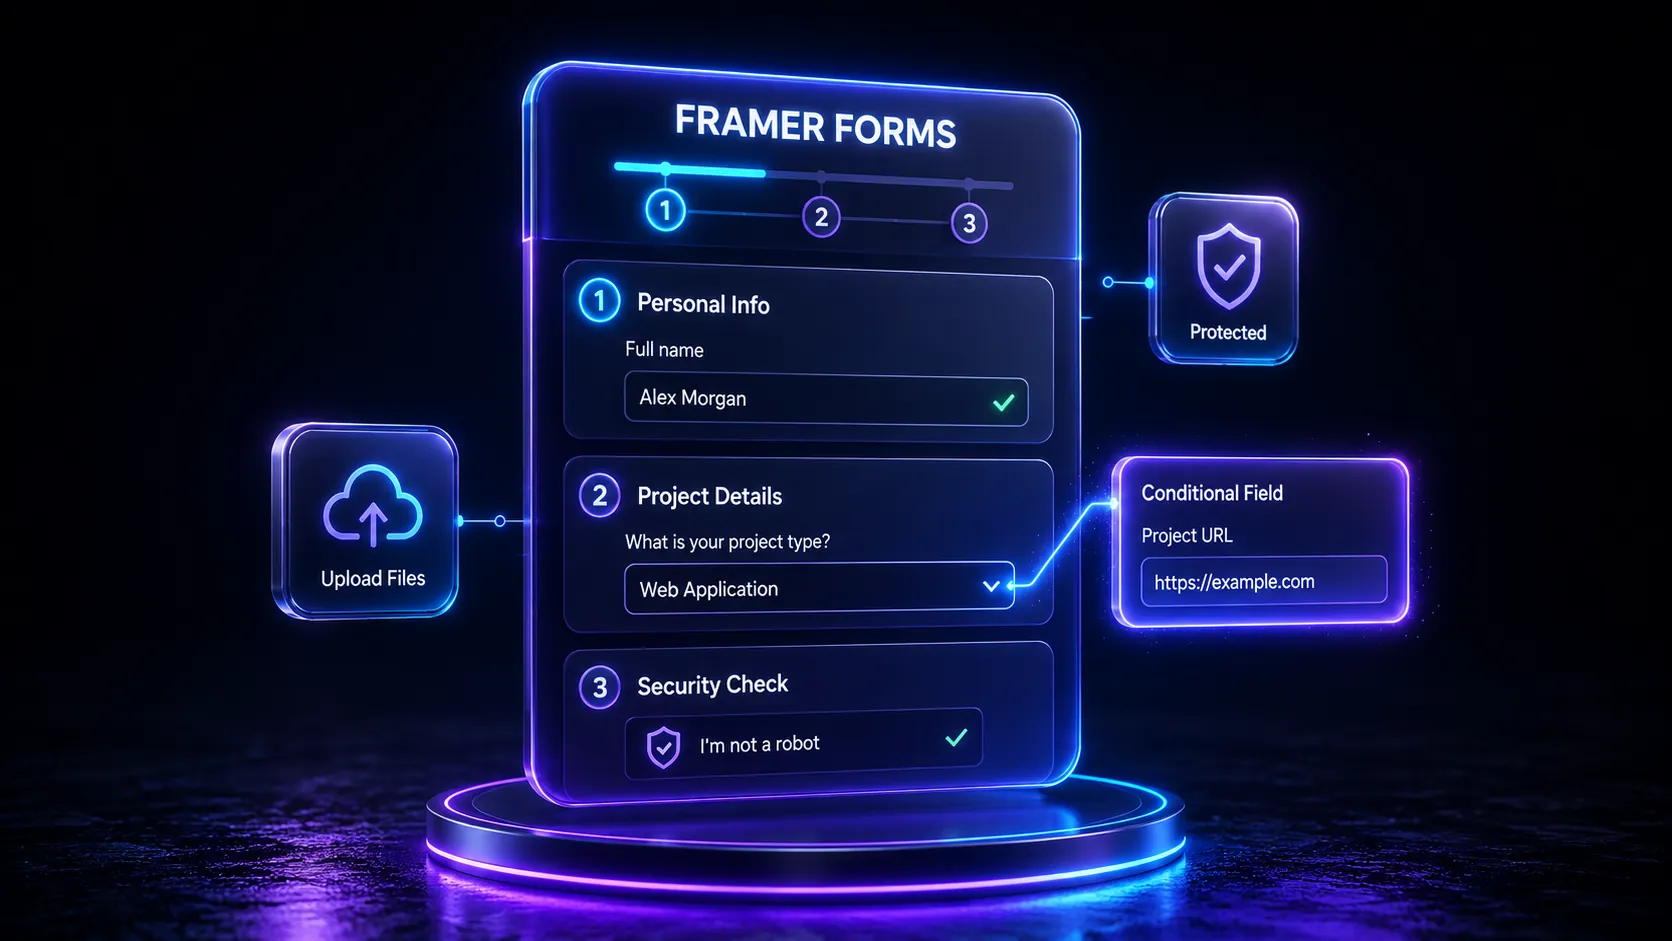
Every Framer site needs at least one form. A contact form, a lead capture, a quote request.
Does Framer have forms? Yes. Framer ships a native Form element, it handles submission itself, and for a straightforward contact form you need nothing else. That native element is the starting point for framer forms, so this guide starts there.
The second question is the one that brings people here: what happens when the client asks for a three-step intake form with a file upload and fields that appear based on earlier answers. That's where the native form runs out, and this guide covers exactly which piece does what, including where our own plugin stops.
How native Framer forms work
Drag a Form element onto the canvas from the Insert panel. Add input fields, connect a submit button, and configure where the submission goes in the element's settings. Framer handles the submission path. There is no backend to write, no service to sign up for, and no plugin to install.
That covers more than people assume:
- Over ten input types, including text, email, message (textarea), name, number, phone, date, time and location, plus checkboxes, radio buttons and dropdown menus.
- A submit button wired to the form, with success and error states you can design.
- Basic required-field and email-format checking, so an empty required field or an obviously malformed address doesn't sail through.
- Submission handling, owned by Framer and configured on the form itself, with email, Google Sheets and custom webhook destinations, plus spam protection and rate limiting.
Setting up a native Framer contact form
- Drag a Form element onto your page from the Insert panel.
- Add the fields you need: name, email, message.
- Set each field's type correctly, an email field should be the email type, not plain text, so the built-in format check applies.
- Open the form's settings and configure where submissions should go.
- Style the submit button and design the success and error states. A form with no visible confirmation is the most common self-inflicted conversion bug on any site.
- Preview and submit a test entry.
- Publish and test again on the live URL, not just in preview.
For an early-stage site with a single contact form, stop here. This is a genuinely good baseline and reaching past it costs you money and complexity you don't need yet.
Where native Framer forms run into real limits
These aren't hypothetical. They're what shows up the moment a client asks for something past "name, email, message".
Field depth
The native set is broader than people expect, and it still runs out. Date, time, phone and number inputs are there. What isn't: a rating, an NPS scale, a signature pad, a country selector, a rich text input, or a repeatable field group. On a quote request or an application form, that gap is a real part of the form.
Validation depth
Required and email-format are the extent of it. There's no minimum length, no maximum length, no phone or URL format rule, no regex pattern, and no way to write the error message yourself. "This field is required" is fine; "Enter a UK postcode, like SW1A 1AA" is what actually reduces abandonment.
No conditional fields
Every field is always visible. A form that asks "are you an agency or a freelancer?" and then shows different follow-up questions isn't possible natively, you either show everything to everyone or split it into separate pages.
No file uploads
There's no upload field type. Job applications, quote requests with reference images, and support forms needing a screenshot all stop here.
No multi-step
Long forms convert better broken into steps with a progress indicator. The native form is single-step, so a fifteen-field form is a fifteen-field scroll.
Spam handling
Any public form on any platform attracts bots eventually. Native Framer gives you basic protection; a captcha you choose and configure is a different level of control.
Submission itself is not on that list. Framer's submission handling works. Sending limits, wherever they apply, belong to your Framer plan, no component plugin can raise them, and any article claiming a plugin removes them is describing a feature that doesn't exist.
Adding the missing fields with Framer Form Kit Plugin
That also draws the boundary around what it fixes. It can solve everything in the list above. It cannot solve anything on the submission side, and it doesn't try to.
Field components, free. Text, email, number, phone, URL, textarea, select, checkbox, and the submit button. That's the working set for most forms, and it costs nothing.
Validation, free. Required rules, email/phone/URL format checks, minimum and maximum length, custom regex patterns, and your own error message per rule, shown inline when the field loses focus rather than after a failed submit.
Conditional logic, free. Show, hide, enable, or disable a field based on another field's value, with eight comparison operators and AND/OR grouping. Hidden fields skip validation, which is the detail that makes conditional forms actually usable, a hidden required field that silently blocks submit is the classic bug here.
Multi-step, premium. Split one form into steps, with a progress indicator, validation on each step before the reader can advance, and autosave to the browser so a half-filled form survives a reload.
File upload, premium. Single file, multiple files, or image-only, with preview and upload progress.
Captcha, premium. reCAPTCHA, hCaptcha, or Turnstile, you pick which, rather than getting whichever one the plugin author preferred.
URL parameter prefill and UTM capture, premium. Read values out of the URL into fields, visible or hidden, so campaign attribution rides along with the submission.
Specialised inputs, premium and Pro. Signature pad, rich text, colour picker, country selector with flags, NPS, rating, scale, slider, repeater, reset button.
One honest note about the free tier: the free submit button renders a small "Powered by Framer Form Kit" credit. It's not hidden in the settings, and you'd rather hear it here than discover it after you've built the form.
What Form Kit does not do matters just as much, because other pages on this topic will tell you otherwise. It does not send email. It does not post webhooks, and there is no Zapier, Make, or n8n connector. There is no Google Sheets, Notion, HubSpot, Airtable, or Mailchimp integration, and no payment collection. If a form you're scoping depends on any of those, that's a plan-and-tooling conversation before you build, not something to discover at handover.
The fields Framer's form doesn't ship
Validation, conditional logic, multi-step, file upload and captcha, all inside Framer's native form. Free tier available.
Where your submissions actually go
Framer owns submission. The Form element you dragged onto the canvas is still the thing that submits. Form Kit's submit button asks that native form to submit; it does not open its own connection to anywhere.
So submissions follow whatever you configured in Framer, and the place to check whether one arrived is Framer, not the plugin.
Any sending limits are Framer's. They're a function of your Framer plan. Adding field components changes nothing about them, in either direction.
One exception, and it's narrow. Uploaded files can't travel inside a normal form submission, so the file upload component uploads the file to Form Kit's own storage and puts the resulting file URL into the form. What reaches your submission is a link to the file, not the file itself. Worth knowing when you're deciding whether that's acceptable for the kind of documents your client's form will receive.
That's the entire architecture, and it tells you where to look when something goes wrong.
Setting up Form Kit: step by step
- Open the Framer Form Kit plugin from the Framer form kit plugin page.
- Keep your native Framer Form element. Add Form Kit's field components inside it.
- Replace the native inputs with the matching Form Kit fields, and give each one a name, that name is what identifies the value in the submission.
- Configure validation per field in the properties panel: required, format, length, custom pattern, and the message the reader sees.
- Add conditional rules where a field should only appear based on an earlier answer, and confirm the hidden branch doesn't block submit.
- For a long form, group fields into steps and add the progress and next/back components.
- Add a captcha before launch if the form is publicly reachable.
- Confirm the submission destination on the native Form element, since that is still where submissions are handled.
- Test the whole flow, including a deliberately invalid submission and one on a phone, and confirm the entry arrives where you expect.
Common form types and what they actually need
Simple contact form. Name, email, message. Native Framer handles this. Don't add a plugin to a form this size.
Quote request form. Needs more fields and conditional branching, show a budget range only after a project type is picked, so incomplete requests stop reaching sales. Conditional logic is the piece doing the work here, and it's on the free tier.
Job application form. Needs a file upload for the CV, plus enough fields that multi-step is usually worth it. This is the clearest case where native Framer can't do the job at all.
Multi-step intake or onboarding form. Progress indication and per-step validation are what stop a long form feeling long. Autosave matters more than people expect, because readers do reload.
Event registration. A select for ticket type, a date field, and a captcha, because public registration forms are a spam magnet.
Support or bug report form. File upload for screenshots plus structured fields (severity, page URL, browser) so the report arrives usable instead of starting a five-email thread.
Multi-step forms, file upload, conditional logic, and the submissions question each deserve more room than one paragraph. We're writing a proper guide for each of the four, and this page will link to them as they go up.
Designing the rest of the page around your form
A form rarely lives alone. Contact, quote, and application pages usually need a short trust-building intro, an FAQ block, some social proof, and clear next-step messaging after submission.
Rather than custom-building those per project,
The state after submit gets less attention than it deserves. "Thanks, we'll be in touch" is a wasted screen. Say who will respond and roughly when, and the same form starts feeling like a business rather than a void.
Testing checklist before you launch a form
- Submit a valid entry and confirm it arrives where you configured it
- Submit an invalid entry, missing required field, malformed email, and confirm the inline error is clear and specific
- Trigger every conditional branch, and confirm a hidden required field never blocks submit
- On a multi-step form, confirm each step validates before advancing, and reload mid-form to check autosave
- If using file upload, test an oversized file and confirm the limit is communicated rather than silently failing
- Test on a real phone, since field spacing and keyboard behaviour differ from desktop
- Confirm the captcha doesn't block a legitimate submission
- Confirm the success state actually renders, rather than leaving a blank screen
Choosing the right approach for your project
Use native Framer forms when it's a straightforward contact form, you don't need file uploads or conditional fields, and the field types you need are already there. This is more projects than plugin vendors like to admit.
Use Form Kit when the form needs real validation, conditional fields, multiple steps, a file upload, or an input type Framer doesn't ship, and you want it to look like part of the page rather than an embed.
Use Tally or Typeform when the form itself is the product: a long survey, a quiz, complex logic and reporting, or a workflow your team will manage without a designer. Tally's free tier is genuinely generous and the embed works. What it costs you is design control, the form arrives in an iframe with its own layout rules, and on a carefully designed page it reads as a widget.
There's no universal right answer here. The question is whether the form is a piece of your page or a system of its own.
FAQ
Does Framer have forms?
Yes. Framer ships a native Form element with input fields, a submit button, and its own submission handling, and it needs no plugin. It covers a straightforward contact form well. What it doesn't cover is field depth: multi-step flows, file uploads, conditional fields, and validation with custom messages.
Where do Framer form submissions go?
Framer handles submission itself, so submissions follow whatever destination you configure on the native Form element inside Framer. A component plugin like
Can Framer forms have file uploads?
Framer's native form has no file upload field. Form Kit's premium file upload component adds one, with single, multiple, and image-only modes plus preview and progress. The file is uploaded to Form Kit's own storage and the resulting file URL is what gets stored with the submission.
How do I add validation to a Framer form?
Native Framer forms validate required fields and basic email format. Form Kit's free field components add required rules, email, phone and URL format checks, minimum and maximum length, custom regex patterns, and custom error messages shown inline when a field loses focus.
Can I build a multi-step form in Framer?
Not with the native Form element alone, which is single-step. Form Kit's premium multi-step components split one form into steps with a progress indicator, validation per step before the reader can advance, and autosave so a partly filled form survives a reload.
What's the difference between Framer's native form and Form Kit?
Framer's native form owns submission. Form Kit is a collection of field components that live inside that native form, adding validation, conditional logic, multi-step flows, file upload, captcha, and specialised inputs like signature, rating and NPS. You use both together, not one instead of the other.
Bottom line
Native framer forms are the right answer more often than the internet suggests. A contact form on a small site needs nothing more, and adding a plugin to it is work you'll maintain for no gain.
What native forms don't give you is field depth: validation you can word yourself, fields that appear based on earlier answers, steps, uploads, and the specialised inputs that a real intake form is mostly made of. That's the gap
Whichever you pick, decide once and standardise across projects. Knowing the validation behaviour, the upload limits, and where submissions land before you start is worth more than re-litigating the choice on every build.
Last updated: August 2026
Shahul
Founder of FramerHub